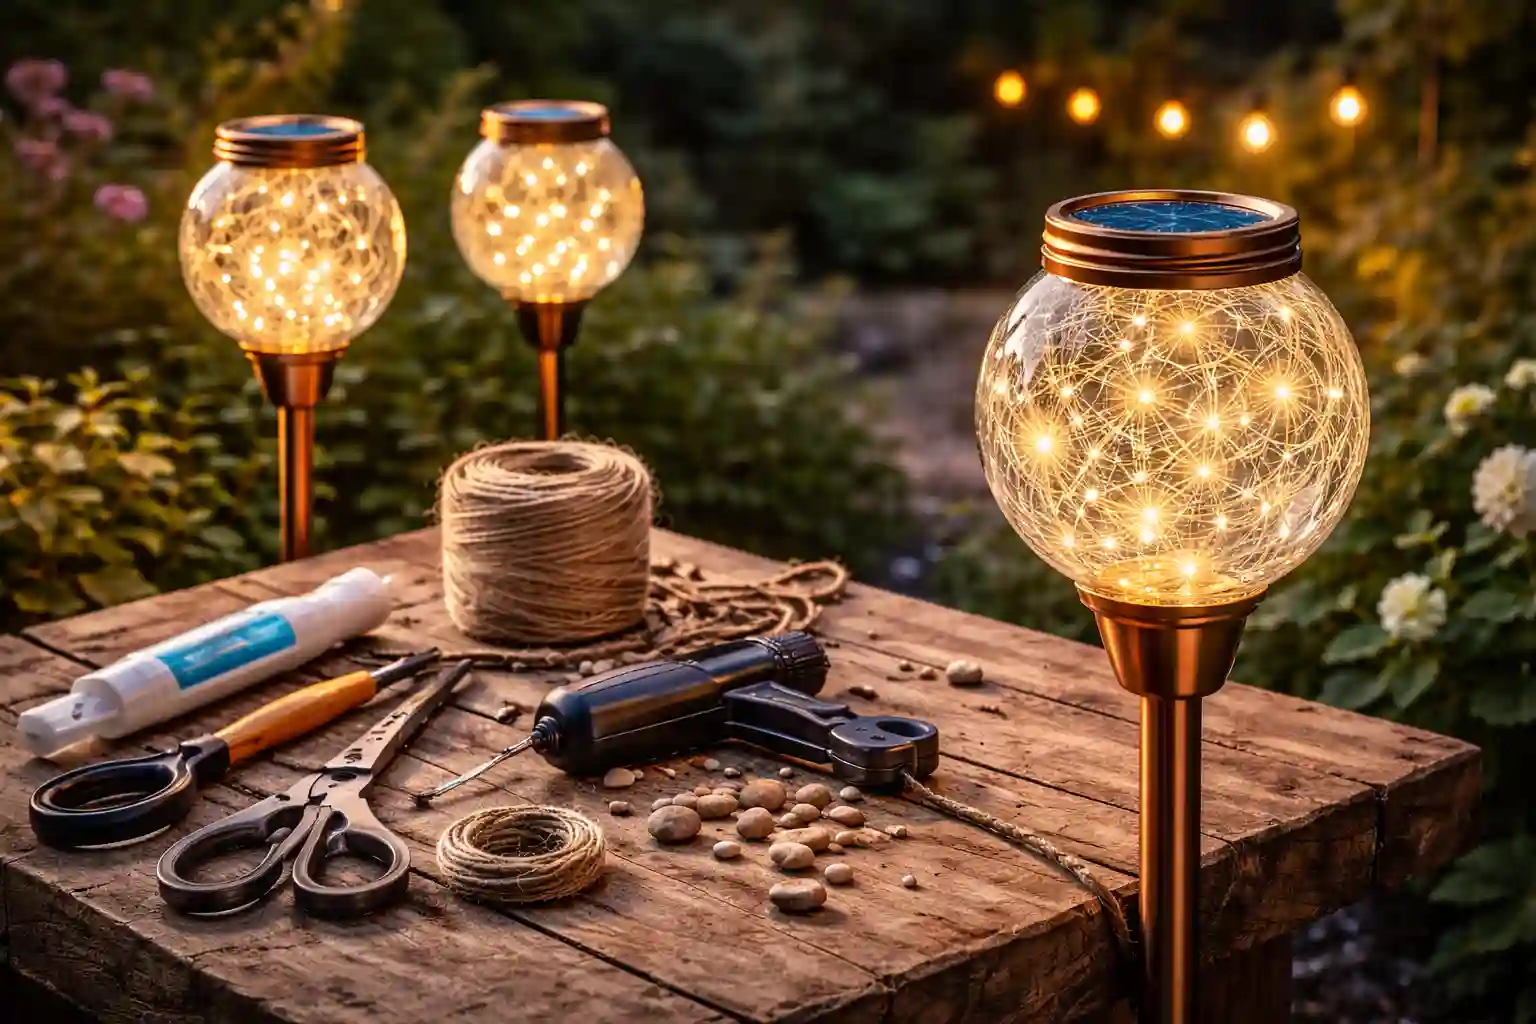
Repurposed DIY Garden Globe Solar Light
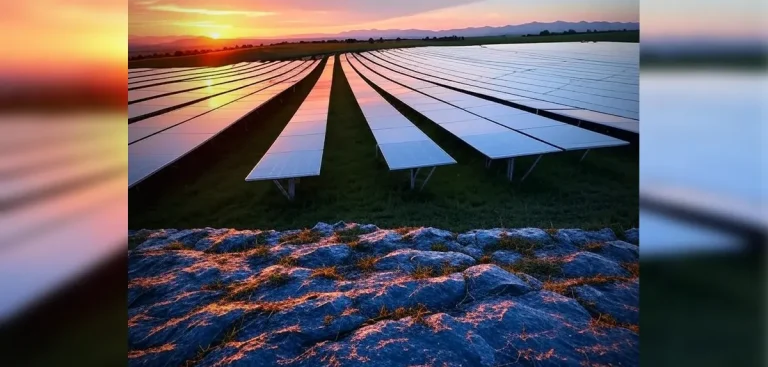
I strongly feel that re-purposing things goes hand-in-hand with solar power. Nothing like cost-effectively making something you love, while keeping things out of the landfill, that will continue to charge and give you great light for a long time to come!
Win-Win!
Step 1
Gather the supplies(I purchased them from my local thrift store)
- Plain wire
- Metal spray paint
- 2 hanging baskets
- Curtain rod
- Washers
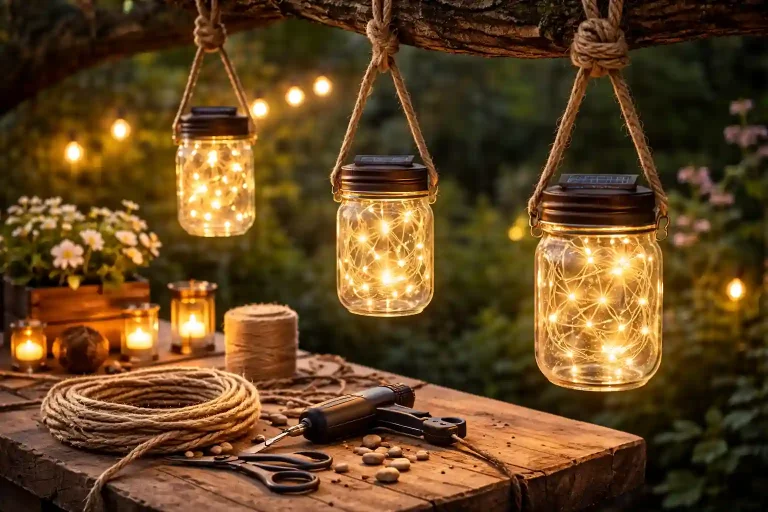
We purchased the solar string lights from Amazon.
Step 2
Remove the chain from the hanging baskets and paint the baskets and rod the desired color. Many different colors would look good besides black. Gold, Silver, Brass, White…all of these would also look very good. It mostly depends on any reoccurring themes or colors you have in your garden already. Let’s say you have some white rocks surrounding your garden bed. You can either contrast or complement your white rocks, you could do a white garden light(that would be complement) or you could do a black garden light(that would be contrast).
Step 3
Dry fit your pieces together. Make sure that everything will snuggly fit together. Obviously it’s tags along with the saying “measure twice, cut once”. This will give you an idea of size and final shape.
Step 4
Wire your baskets together. Pretty Straightforward. Nice and tight is best. Remember this is an outdoor light so it will take some slight punishment from the outdoor elements.
Step 5
Wire together your washers & rod to the center of one of the baskets (or it you have access to a welder, weld the pieces together for clean lines). Same as above, the tighter the better. I would recommend taking these lights indoors if you know storms with heavy winds are coming. They also may need to be tightened every so often, maybe around once a season.
Step 6
Push end of rod into desired place. This will decide the final height. Ensure you have found a ‘home’ for this light in the garden and to make the height appropriate for its location.
Step 7
Measure the solar powered garden lights vs the baskets. Measure the length of one spine and multiply that by how many spines you have. Use this total length of spines measurement to ensure you space your solar garden lights out accordingly.
Step 8
Wire-tie the lights along each spline to get even lighting. You can have the lights densely or spaced out, that’s fine. The important part is that it is all even.
Step 9
Decide on which mode you want! Place your new solar powered garden light in your garden! Wait for the evening to come! And enjoy!