
Whether you are fully off-grid or just using a few solar garden lights, solar power can help reduce energy usage and costs in the long run. However, given that solar-powered lights have to capture, store, and use the power, they can be more finicky than traditional grid-powered lights. This guide will help you fix your solar lights when problems inevitably arise.
Troubleshooting Common Solar Light Problems
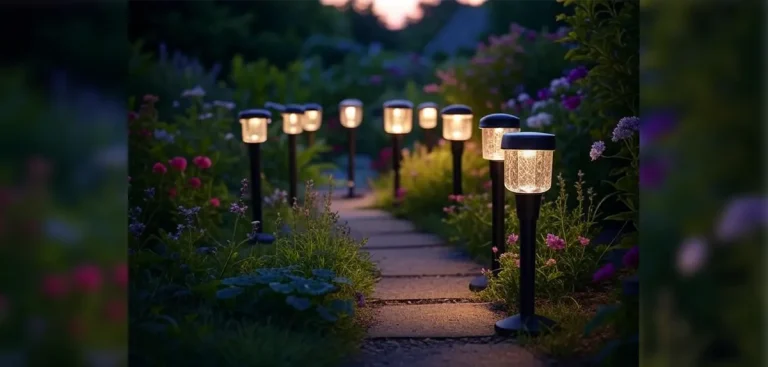
Your solar lights have one job: to illuminate your backyard and pathways at night. Unfortunately, there are a multitude of things that can go wrong with solar power systems, both large and small. Each solar garden light is its own miniature solar setup, complete with a panel, battery, light, and housing. This leaves a few points that are prone to failure. Luckily, most issues can be solved with a simple fix. Let’s explore a few of the common issues found in solar garden lights.
New Solar Lights Not Working
Many people experience issues with their solar lights before their first use. There are a few things to look out for if your new solar lights are not working.
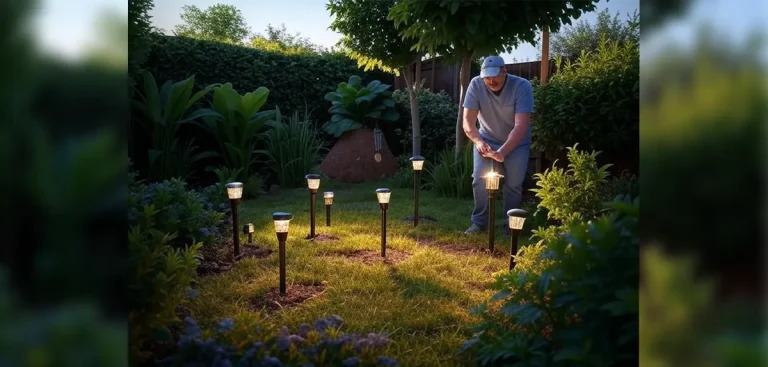
Most lights utilize an on/off switch. Make sure that the switch is in the ‘on’ position. If you have issues with your lights in the future, make sure curious children didn’t flip the switch off again.
Depending on the light, there may also be a battery pull tab that needs to be removed before operation. This is easily overlooked, causing many people to assume that they received a faulty light. Look for a small plastic tab near the battery compartment and make sure it is fully removed before moving on to other possible solutions.
If these solutions don’t fix your new solar lights, then you may have received a defective device. Reach out to the manufacturer for further advice or a replacement.
Faulty Solar Cells
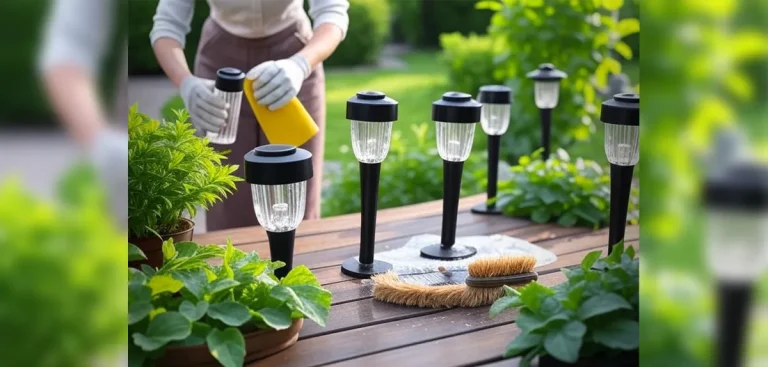
Many issues that arise with solar lights can be traced back to the panel. The panel contains solar cells, which are responsible for gathering the sun’s energy and transferring it into battery power. For the panels to function properly, they need to stay clean, as well as positioned to gather the maximum amount of sun. If your lights are malfunctioning, your first step should
In especially hot locations, the sun and heat can degrade the panel and the barrier that separates the cells from the outdoors. Similarly, extreme weather can also cause issues for the panel, as rain and snow often seep into the insides of your light.
You may need to purchase replacement solar cells for garden lights. Unless your manufacturer has panels readily available, this is usually not worth the cost or hassle, especially for low-quality lights. Purchasing a new set of solar lights is the better option for most homeowners.
Solar Lights Not Working After Rain
Solar lights are made for the outdoors, as they are water and weather-resistant. However, they are not water-proof, meaning that with enough time and harsh weather, the seals on the light may begin to degrade. If your lights are not working after heavy rain, the storm may have made its way into the internal components of your light. This often spells death for your lights, but you can take a few steps to attempt to fix them.
If you notice that your light has filled up with water, start by taking it apart. Let the components dry completely and then reassemble. If the light ends up working, you will just need to apply a new layer of sealant before subjecting them to the outdoors again.
Solar Light Sensor Not Working
Are your lights coming on at different times, or not turning on at all? This is often a problem with the solar light sensor that regulates the on-off cycle of your lights. To solve this, start by cleaning off any dirt and grime from the sensor. Also, make sure that your lights are located away from other artificial light sources. If you put your solar lights too close to home or street lights, they may not register the change from day to night.
If the methods above don’t fix the issue, check with your manufacturer to see if they offer replacement sensors, as this will prevent you from having to purchase new lights.
Blinking Solar Garden Lights
Flickering or blinking lights are never a good sign. This usually points to a problem with the battery, especially if you’ve already made sure that the solar cells are clean and receiving enough sunlight. An old, dying battery will start to flicker as it loses its last bit of charge. If possible, you can swap out a new battery to solve this problem. If your lights don’t allow for a battery change, then it may be time to purchase a new set of solar path lights.
Frequently Asked Questions
How Long Do Outdoor Solar Lights Last?
The lifespan of outdoor solar lights can vary wildly depending on the build quality, environment, and other factors. Drastic weather will have a negative impact on the longevity of your lights. Purchasing reputable lights should increase the lifespan and ensure that replacement parts are available if the need arises.
Can You Use Regular AA Batteries in Solar Lights?
No, you are not able to use regular AA batteries in solar lights. Some lights may use rechargeable AA batteries, but others will have custom batteries specific to the manufacturer. Check the manual before attempting to replace solar light batteries.
Why Are Only Half My String Solar Lights Working?
Many solar lights utilize one panel that powers a string of lights. In these setups, if one light goes out, the rest of the string will often turn out into. Try replacing any faulty bulbs to restore power to the rest of the string.
Solar garden lights are an energy-efficient way to light up your backyard, garden, or patio. However, failures are common, especially with lower-quality lights. To prevent issues from occurring in the first place, purchase well-reviewed lights. When a problem does arise, the solution is usually as simple as cleaning or replacing a component in the light.